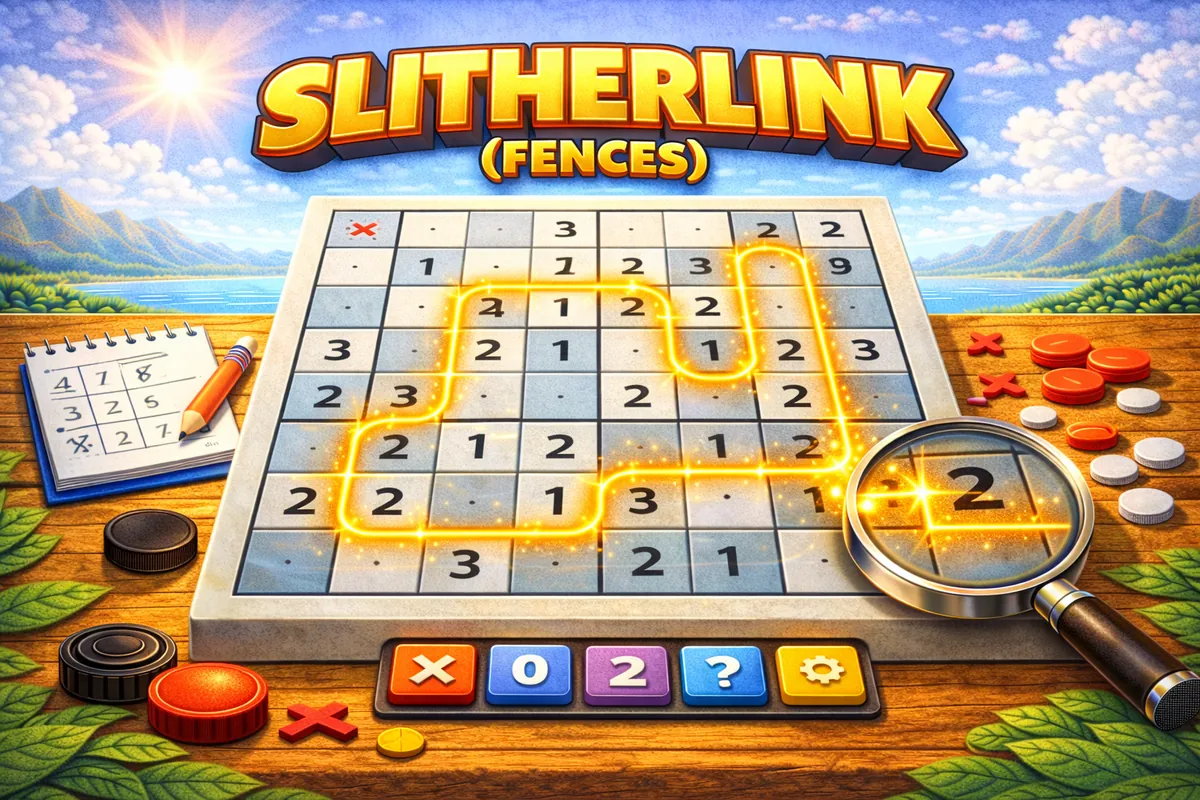
Play Slitherlink (Fences) Online
Draw a single closed loop on a grid of dots. Numbers inside cells tell you exactly how many of that cell’s four edges are part of the loop.
Created by Brian Hamilton
Click between dots to draw the loop
How to play Slitherlink
Draw a single closed loop along the grid lines, joining dot to dot horizontally and vertically.
- A number says how many of that cell’s four sides the loop uses. A 0 means none of them.
- Cells with no number are unconstrained — the loop may use any number of their sides.
- The loop never crosses or branches: every dot has either no lines or exactly two.
- There is one loop, not several, and every puzzle has exactly one solution.
Controls: click between two neighbouring dots to draw that segment, click again to mark it as ruled out with a cross, and a third time to clear it. Marking the crosses is how most of the puzzle gets solved.
The 0 is the most useful clue on the board
A zero looks like the clue that tells you nothing. It is the opposite: it is the single most informative number in Slitherlink, and it is the one to hunt for first.
Every other clue says how many of a cell’s four sides the loop uses, leaving you to work out which. A zero says none of them — four edges struck off at once, with no ambiguity at all.
That is worth putting beside the other clue values. Taking the same empty 3×3 grid and adding one clue to the centre cell, here is how much of the search each one removes.
| Clue | Loops left | Share of 213 |
|---|---|---|
| 0 | 20 | 9% |
| 3 | 32 | 15% |
| 1 | 80 | 38% |
| 2 | 80 | 38% |
The ordering is worth memorising: 0, then 3, then 1 and 2 a long way behind — and 1 and 2 are worth exactly the same, which surprises most people. A 2 is the clue that looks like it says something and does the least.
A 3 beside a 0 can settle everything
Clue values matter less than clue pairs. The strongest pairing in the puzzle is a three next to a zero, and it is worth learning as a shape rather than as reasoning.
The logic is short. A zero removes all four of its own sides, one of which is shared with the three. A three needs three of its four sides, and it has just lost one, so it takes all three that remain. From there the degree rule — every dot has either no lines or exactly two — propagates outwards until nothing is left to decide.
Corners are free information
The edges of the grid constrain the loop more than the middle does, because a dot on the border has three possible lines instead of four, and a dot in a corner has only two.
Neither of those needs any other clue on the board to be true. If a puzzle hands you a corner 3 or a corner 1, that is two edges settled before you have thought about anything.
But the 3s are rarer than the guides suggest
Almost every Slitherlink tutorial is built on patterns involving threes: 3-next-to-0, two 3s side by side, two 3s on a diagonal, a 3 in a corner. They are all real, and all verifiable above. There is just one problem with relying on them.
Counting the clues on generated 7×7 boards, a typical puzzle carries about 10 zeros, 10 ones, 7 twos and fewer than 2 threes. On the hard setting it averages a single three on the whole board.
So the patterns worth the most are also the ones you will rarely get to use. The zeros are what you actually have — roughly a third of every board — and they are the strongest clue anyway.
A worked board
Here is a 6×6 from the generator on this page.
Start where the zeros are and cross off their sides. Then look at what those crossings do to the cells next door: a 3 that has lost a side, or a 1 that has lost three, is suddenly determined. Slitherlink is nearly always solved by working outwards from what has been ruled out, not from what has been drawn.
Where solvers get stuck
Only drawing lines. Marking edges you have proved unusable is not optional bookkeeping — it is most of the puzzle. A cell with three crossed sides tells you as much as one with three drawn sides.
Forgetting the degree rule. Every dot has either no lines or exactly two. A dot with one line and no remaining options is a contradiction, and spotting those early saves unwinding a long chain later.
Closing a small loop. The answer is one loop, and it must satisfy every clue. A neat little circuit that ignores half the board is not a partial answer, it is a dead end — and the sooner you check for it the less work you lose.
Two things you can check about these puzzles
Every puzzle has exactly one solution, and that is now verified. Each board starts fully clued — a number in every cell — and clues are then removed one at a time, each removal kept only if a solver confirms exactly one loop still fits. Because no step that would create a second solution is ever accepted, ambiguity cannot creep in.
The clue count is the difficulty, and you can see it at a glance. On a 7×7, easy boards show about 29 of the 49 cells, medium about 21 and hard about 15. The loop itself stays roughly the same length whatever the setting — around 25 to 30 edges — so a hard board is not a bigger puzzle, just a quieter one.
Slitherlink, Fences and Loop the Loop
Slitherlink is the name used by Nikoli, which first published it. In English-language collections it also appears as Fences, Loop the Loop, Dotty Dilemma and Great Wall of China.
It is the best known of the loop puzzles, where the answer is a single closed circuit rather than a filled grid. Masyu is its closest relative here, but the clues work quite differently: a Masyu circle constrains the shape of the loop where it passes through, while a Slitherlink number counts the edges around a cell.
More loop puzzles
If you like drawing a single closed circuit under constraints, try these: